
How to Accept Crypto Payments on Shopify & WooCommerce
Step-by-step guide to adding crypto payments on Shopify and WooCommerce. Setup instructions for NOWPayments, BTCPay Server, and other top plugins in 2026.
Key Takeaways
- Shopify does not support crypto natively — you need a third-party gateway (NOWPayments, BTCPay Server, or BitPay)
- WooCommerce has 10+ crypto plugins with deeper integration options (inline widgets, not just redirects)
- NOWPayments is the easiest setup for both platforms (5-10 minutes). BTCPay Server is the cheapest (0% fees)
- Offer a 2-5% crypto discount to boost adoption — you save more than that on processing fees vs. credit cards
Shopify and WooCommerce power over 40% of all online stores. Adding crypto payments to either platform takes under an hour with the right gateway. This guide walks you through the exact setup process for both platforms, covering the best gateway options, step-by-step plugin installation, and configuration tips to maximize conversion rates.
Shopify: Accepting Crypto Payments
Shopify does not natively support cryptocurrency payments, but several third-party gateways integrate cleanly through Shopify's payment provider system. Here are the three best options and how to set up each one.
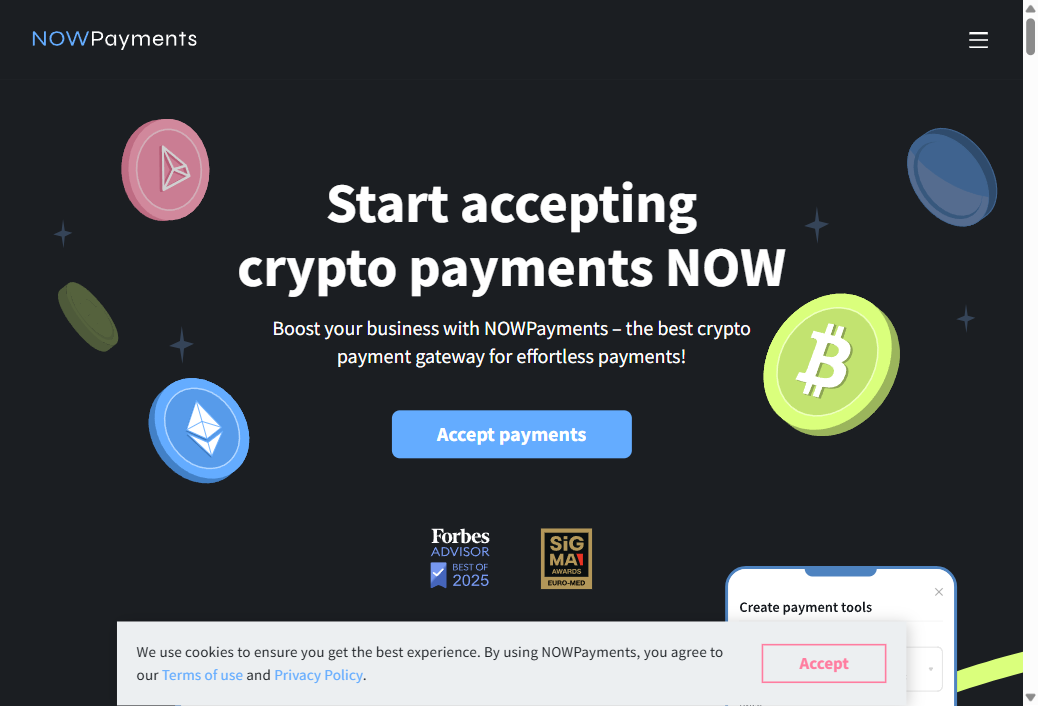
Option 1: NOWPayments for Shopify (Recommended)
NOWPayments is the easiest way to add crypto to Shopify. It supports 300+ cryptocurrencies at 0.5% per transaction, which means your customers can pay with virtually any coin.
Setup Steps
- Create a NOWPayments account at nowpayments.io. Complete the minimal KYC verification (business email, basic info). This usually takes under 24 hours.
- Get your API key from the NOWPayments dashboard under Settings → API Keys. Copy the key.
- Install the NOWPayments Shopify app from the Shopify App Store. Search for "NOWPayments" and click Install.
- Enter your API key in the app settings. Configure your payout currency (which crypto you want to receive, e.g., USDT or BTC).
- Enable NOWPayments as a payment method in Shopify Admin → Settings → Payments → Alternative payment methods.
- Test a checkout by placing a test order. Verify the payment page loads correctly and shows the right amount.
After setup, customers see a "Pay with Crypto" option at checkout. Clicking it redirects to the NOWPayments hosted payment page where they select their preferred cryptocurrency and complete the payment.
Set up NOWPayments on Shopify →
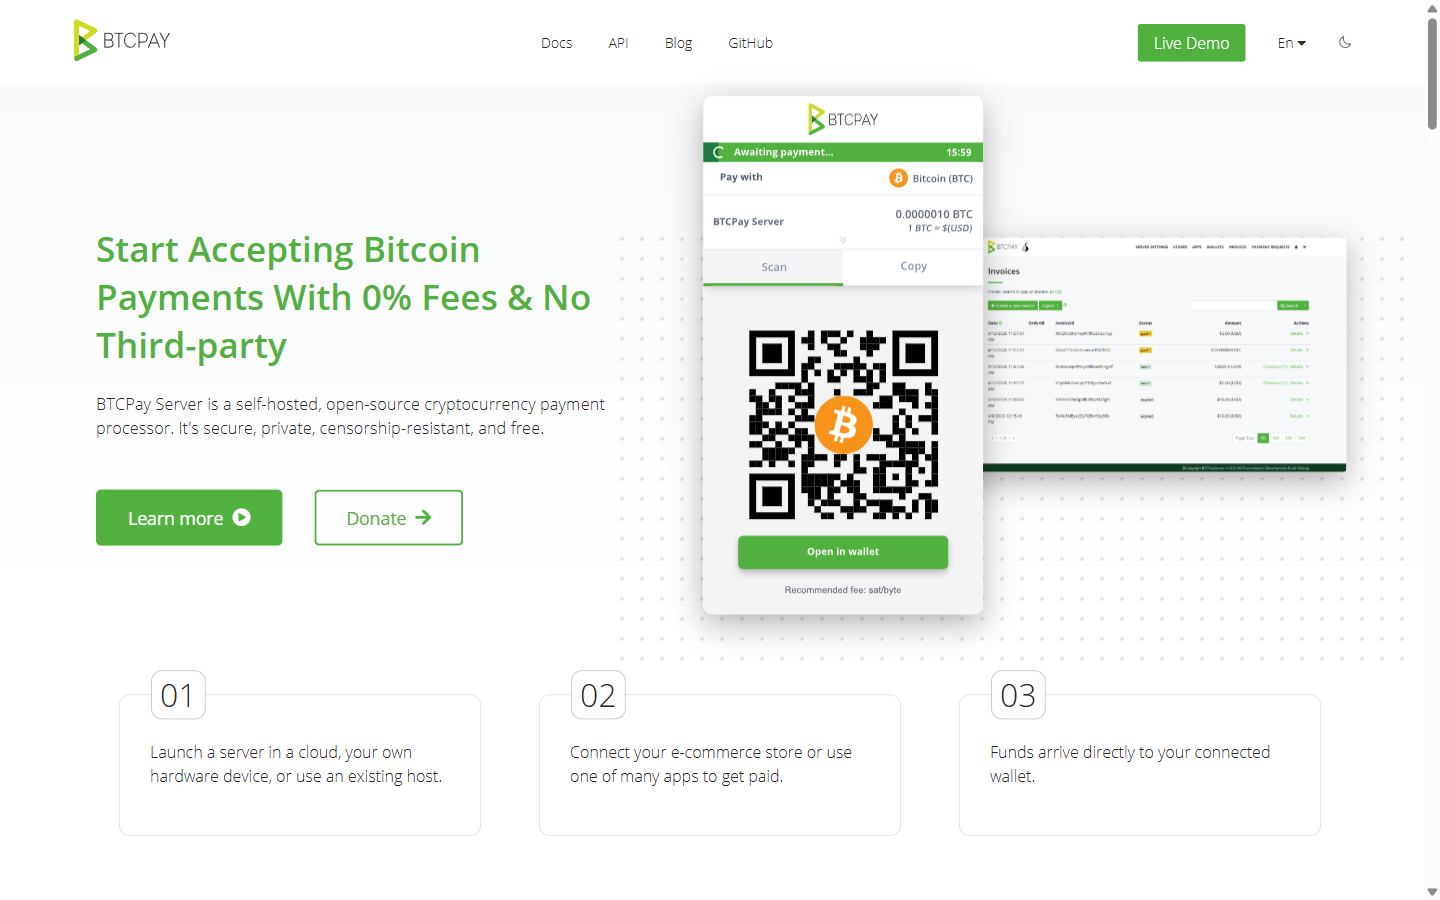
Option 2: BTCPay Server for Shopify
BTCPay Server offers a Shopify integration that lets you accept Bitcoin and Lightning payments with zero transaction fees. The trade-off: you need to run your own BTCPay Server instance first.
Setup Steps
- Deploy BTCPay Server on a VPS (see our BTCPay Server review for hosting options). You need a running instance before proceeding.
- Create a store in your BTCPay Server dashboard.
- Go to Shopify integration in BTCPay → Settings → Integrations → Shopify.
- Enter your Shopify store URL and follow BTCPay's guided setup, which creates the necessary API credentials.
- Install the BTCPay Shopify script by adding the provided JavaScript snippet to your Shopify theme (Settings → Checkout → Additional scripts).
- Test with a real payment — send a small amount of Bitcoin to verify the end-to-end flow.
Option 3: BitPay for Shopify
BitPay is the go-to choice if you want fiat settlement — accept crypto and receive USD in your bank account. The 1% fee is higher, but you never hold volatile cryptocurrency.
Setup Steps
- Create a BitPay business account at bitpay.com. Full KYC is required — expect 1-7 business days for verification.
- Install the BitPay Shopify app from the Shopify App Store.
- Connect your BitPay account using the pairing code from your BitPay dashboard.
- Configure settlement — choose whether to receive USD (bank deposit) or cryptocurrency.
- Enable BitPay in Shopify Payments settings and test a checkout.
WooCommerce: Accepting Crypto Payments
WooCommerce has the richest crypto plugin ecosystem of any e-commerce platform. Nearly every gateway offers a dedicated WooCommerce plugin, giving you more choices and tighter integration than Shopify.
Option 1: NOWPayments for WooCommerce (Recommended)
The NOWPayments WooCommerce plugin is the most feature-complete option. 300+ coins, 0.5% fee, automatic order status updates, and inline payment widget.
Setup Steps
- Install the plugin from WordPress Admin → Plugins → Add New. Search for "NOWPayments" and install the official plugin.
- Activate the plugin and go to WooCommerce → Settings → Payments.
- Click on NOWPayments to open the configuration panel.
- Enter your API key (from your NOWPayments dashboard) and your IPN Secret (for webhook verification).
- Set your payout currency — the cryptocurrency you want to receive (BTC, USDT, ETH, etc.).
- Configure order statuses — map NOWPayments payment states to WooCommerce order statuses (e.g., "confirmed" → "processing").
- Enable the payment method and save.
- Test a purchase — add a product to cart, proceed to checkout, and select crypto payment.
The plugin handles everything: generating unique payment addresses, monitoring confirmations, updating order status, and notifying the customer via email when payment is confirmed.
Get the NOWPayments WooCommerce plugin →
Option 2: BTCPay Server for WooCommerce
The BTCPay Server WooCommerce plugin is the most mature self-hosted integration available. Zero fees, non-custodial, and the plugin has been in active development for years.
Setup Steps
- Deploy your BTCPay Server instance (LunaNode one-click or Docker on a VPS).
- Create a store and wallet in BTCPay Server dashboard.
- Install the BTCPay for WooCommerce plugin from the WordPress plugin repository.
- Connect to your BTCPay instance — enter your BTCPay Server URL and generate API keys from BTCPay → Stores → Settings → Access Tokens.
- Configure payment settings — set order statuses, payment timeout, and supported currencies (BTC, Lightning, LTC, etc.).
- Enable and test — place a test order and pay via Lightning for instant confirmation testing.
Option 3: Coinremitter for WooCommerce
Coinremitter offers a WooCommerce plugin at 0.23% per transaction — the cheapest hosted option. Non-custodial and no KYC required.
Setup Steps
- Create a Coinremitter account and add your wallet addresses for each cryptocurrency you want to accept.
- Install the Coinremitter WooCommerce plugin from the WordPress plugin repo.
- Enter your API key and password from the Coinremitter dashboard.
- Select supported coins and configure order status mapping.
- Test and go live.
Other WooCommerce Crypto Plugins
These gateways also have WooCommerce plugins:
- Plisio — 0.5%, white-label checkout, 20+ coins
- CoinGate — 1%, fiat settlement, 70+ coins
- PayGate.to — 0.5%, zero registration, non-custodial
- ATLOS — 0.4%, non-custodial, 11 chains
- XAIGATE — 0.2%, auto-USDT conversion
- Paymento — 0.5%, non-custodial, crypto BNPL
For the complete ranking, see our best WooCommerce crypto payment plugins page.
Shopify vs WooCommerce: Crypto Payment Comparison
Tips for Maximizing Crypto Payment Conversions
- Display crypto prices inline: Show the BTC/ETH equivalent alongside USD on product pages. Crypto-native customers are more likely to choose crypto if they see the price in their preferred denomination.
- Offer a crypto discount: Since you save 2%+ on processing fees compared to credit cards, pass some savings to the customer. A 2-5% crypto payment discount can significantly boost adoption.
- Support stablecoins prominently: Many crypto users prefer paying with USDT or USDC because there is no price volatility risk. Make stablecoins a prominent option, not buried in a list of 300 coins.
- Keep payment timeouts reasonable: 15-20 minutes is standard. Too short causes failed payments; too long increases your exchange rate risk.
- Add Lightning support for BTC: Standard Bitcoin payments take 10-60 minutes for confirmation. Lightning is instant. If you support BTC, make sure Lightning is enabled — it dramatically improves the customer experience.
Find the Right Crypto Payment Gateway
Compare fees, features, and KYC requirements across 12 gateways.
Browse All Gateways →Frequently Asked Questions
Can Shopify accept Bitcoin natively?
No. Shopify does not have built-in crypto payment support. You need a third-party gateway like NOWPayments, BTCPay Server, or BitPay installed as an alternative payment method.
What is the best WooCommerce crypto payment plugin?
For most stores, NOWPayments (0.5%, 300+ coins) is the best balance of features and ease. For the lowest fees, XAIGATE (0.2%) or Coinremitter (0.23%). For zero fees, BTCPay Server (requires self-hosting).
Do customers need a crypto wallet to pay?
Yes. Customers need a crypto wallet (MetaMask, Phantom, Trust Wallet, Coinbase Wallet, or any standard wallet) to send cryptocurrency. They cannot pay with a credit card through crypto gateways — that is a different product category (fiat on-ramps).
Can I accept crypto and credit cards on the same store?
Absolutely. Crypto payment plugins add crypto as an additional payment option. Your existing credit card processor (Stripe, PayPal, Shopify Payments) continues to work alongside it. Customers choose their preferred method at checkout.
How do I handle tax reporting for crypto payments?
Crypto payments are taxable income in most jurisdictions. Your gateway dashboard tracks all payments with timestamps and amounts. Export this data for your accountant. If you use fiat settlement (BitPay, CoinGate), the process is simpler since you receive USD — treat it like any other payment. If you receive crypto, you may also owe capital gains tax if the crypto appreciates before you sell it.
What happens if a customer underpays or overpays?
Most gateways handle this automatically. For underpayment, the payment is either rejected or the customer is asked to send the remaining amount. For overpayment, the excess is typically refunded to the customer's wallet or credited as store credit. Check your specific gateway's policy — NOWPayments and BTCPay Server both have configurable tolerance settings.